Set Up Your Workspace
This step is only setup. The goal is to create one clean place for your pilot so the Agent, published channel, and feedback all stay in the same workspace.
Why a Dedicated Workspace Helps
For this guide, think of the workspace as the home for your first verified-scope pilot:
- Your Agent lives there
- Your Web channel is published from there
- Your stakeholder feedback and conversation history stay there
Recommendation
Create a dedicated workspace for this first pilot, such as Customer Service Pilot, so you can experiment without mixing it with other projects.
If You Already Have a Sandbox Workspace
If you already have a workspace you use for experiments, you can keep using it. The important part is keeping this pilot's Agent, channel, and feedback easy to find.
Same workspace or a new one?
A workspace is the boundary for what an agent can see and who can operate it. Use this rule of thumb:
Use the same workspace when:
- You are roughly serving the same audience, because workspaces share one CRM and one pool of local memory — keeping those agents together means the same contact records and remembered preferences are reused across them.
- The new agent serves the same audience or business line as agents already living there.
- It should share the same
Knowledge Basefolders, connected sources, or memory scope. - The same operators will maintain it.
- You want
Call Agenthandoffs to an existing agent in that workspace (cross-workspace calls are not supported).
Create a new workspace when:
- The audience, brand, or customer is different and their conversations should not mix.
- The knowledge base should be isolated (different policies, different clients, different languages).
- A different set of operators should have access.
- You want separate usage tracking, billing attribution, or audience access lists.
- You are piloting something experimental and do not want it to affect a production workspace.
When in doubt, start in the same workspace. Splitting is easy later; merging histories and KB across workspaces is not.
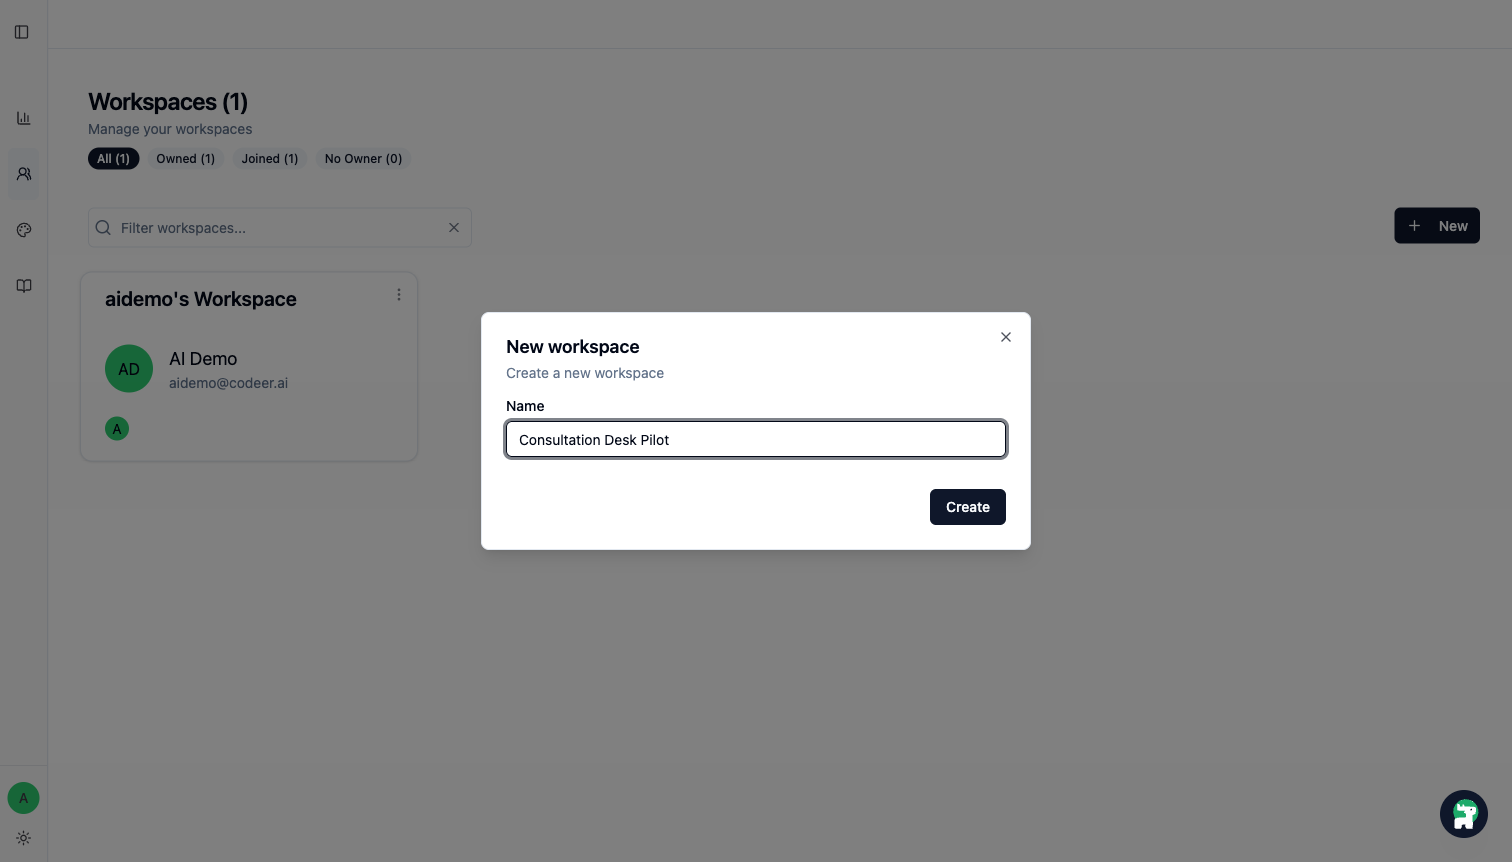
Create the Workspace
- Open
Workspacesfrom the left menu. - Click
New. - Name the workspace something obvious, such as
Customer Service Pilot. - Click
Create.
Keep the Setup Light
Do not overdesign the workspace at this stage. You only need enough structure to:
- Build the first Agent
- Publish one Web channel
- Review stakeholder feedback in one place
Next Steps
Once the workspace is ready:
- Build the First Version
- Invite Team Members if someone else should review the pilot
- Connect Data later if the Agent needs deeper project knowledge