API Access
Use API access when you want your own application, backend, or workflow system to talk to the agent directly.
This is not the default beginner path. It is the right path when Web is no longer enough because you want to control the client experience yourself.
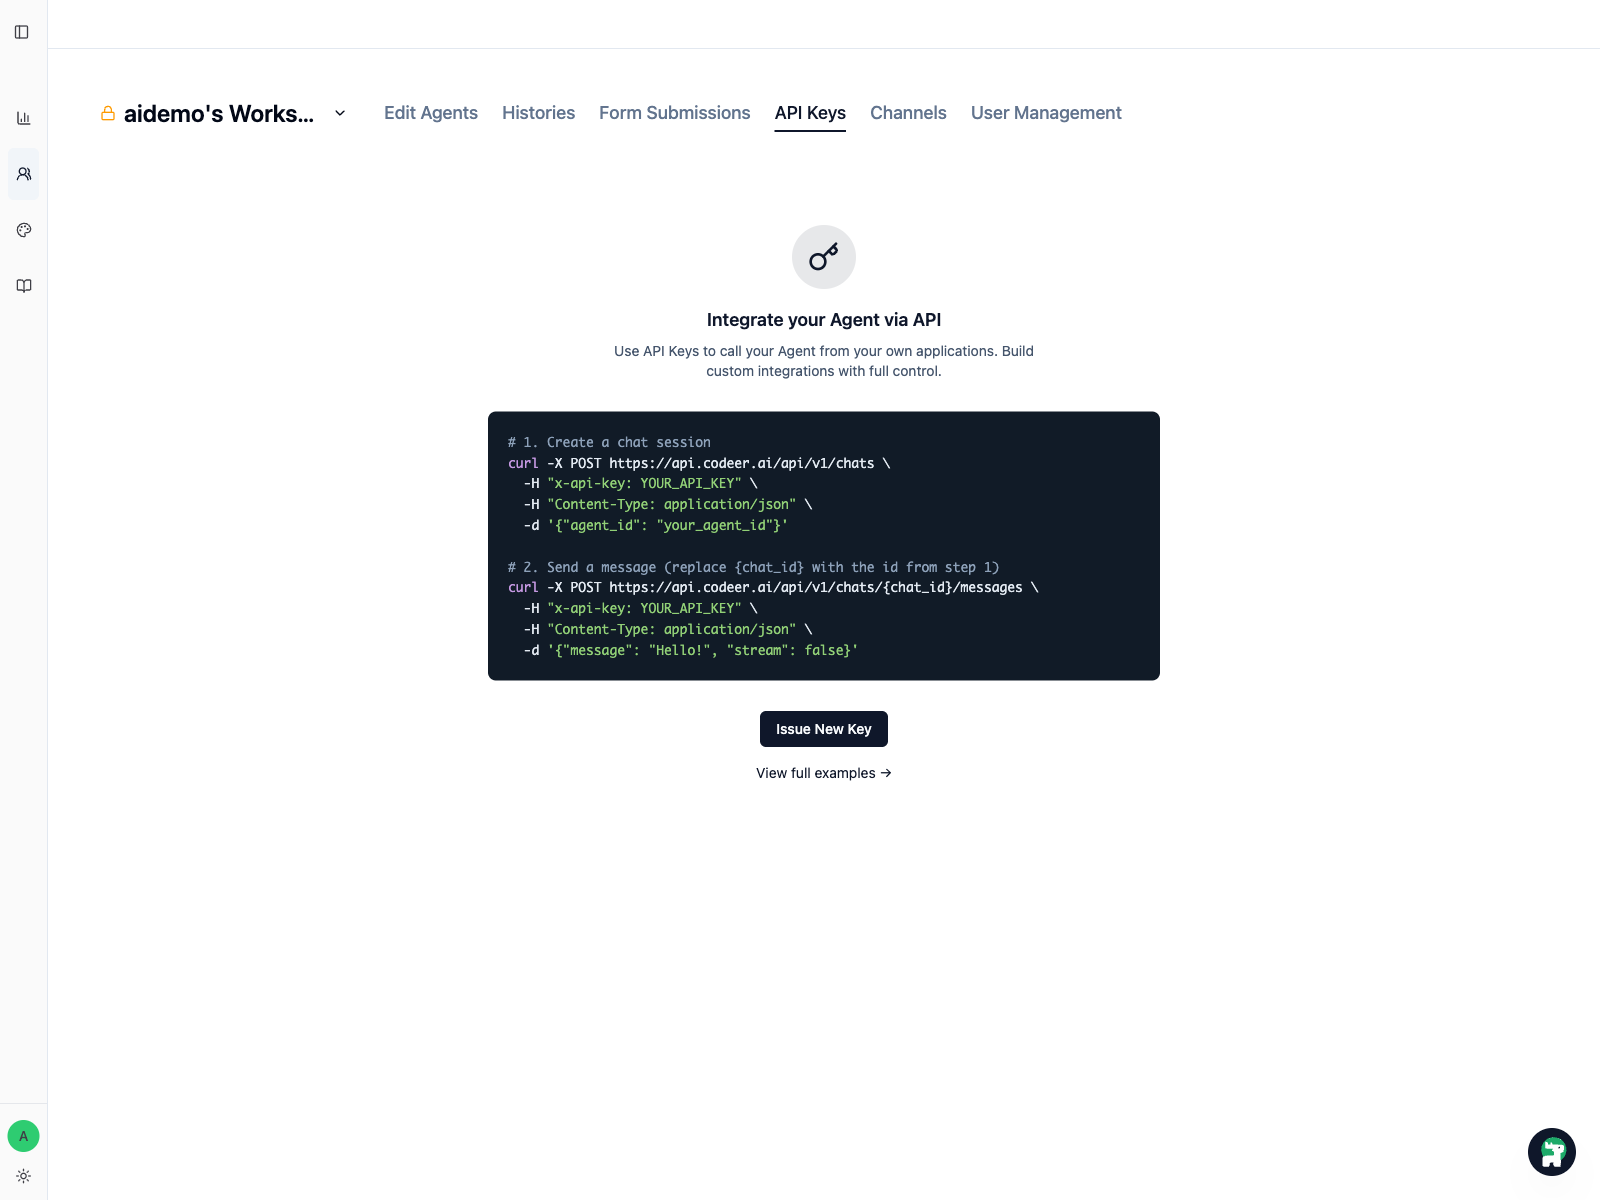
Step 1: Open API Keys in the workspace
API keys are issued per workspace. Open the target workspace and switch to API Keys.
This page is the handoff point between your operator workflow and your engineering workflow:
- operators decide which workspace and agent the integration should use
- engineers use the key in backend requests and product integrations
Step 2: Issue a new key
Click Issue New Key.
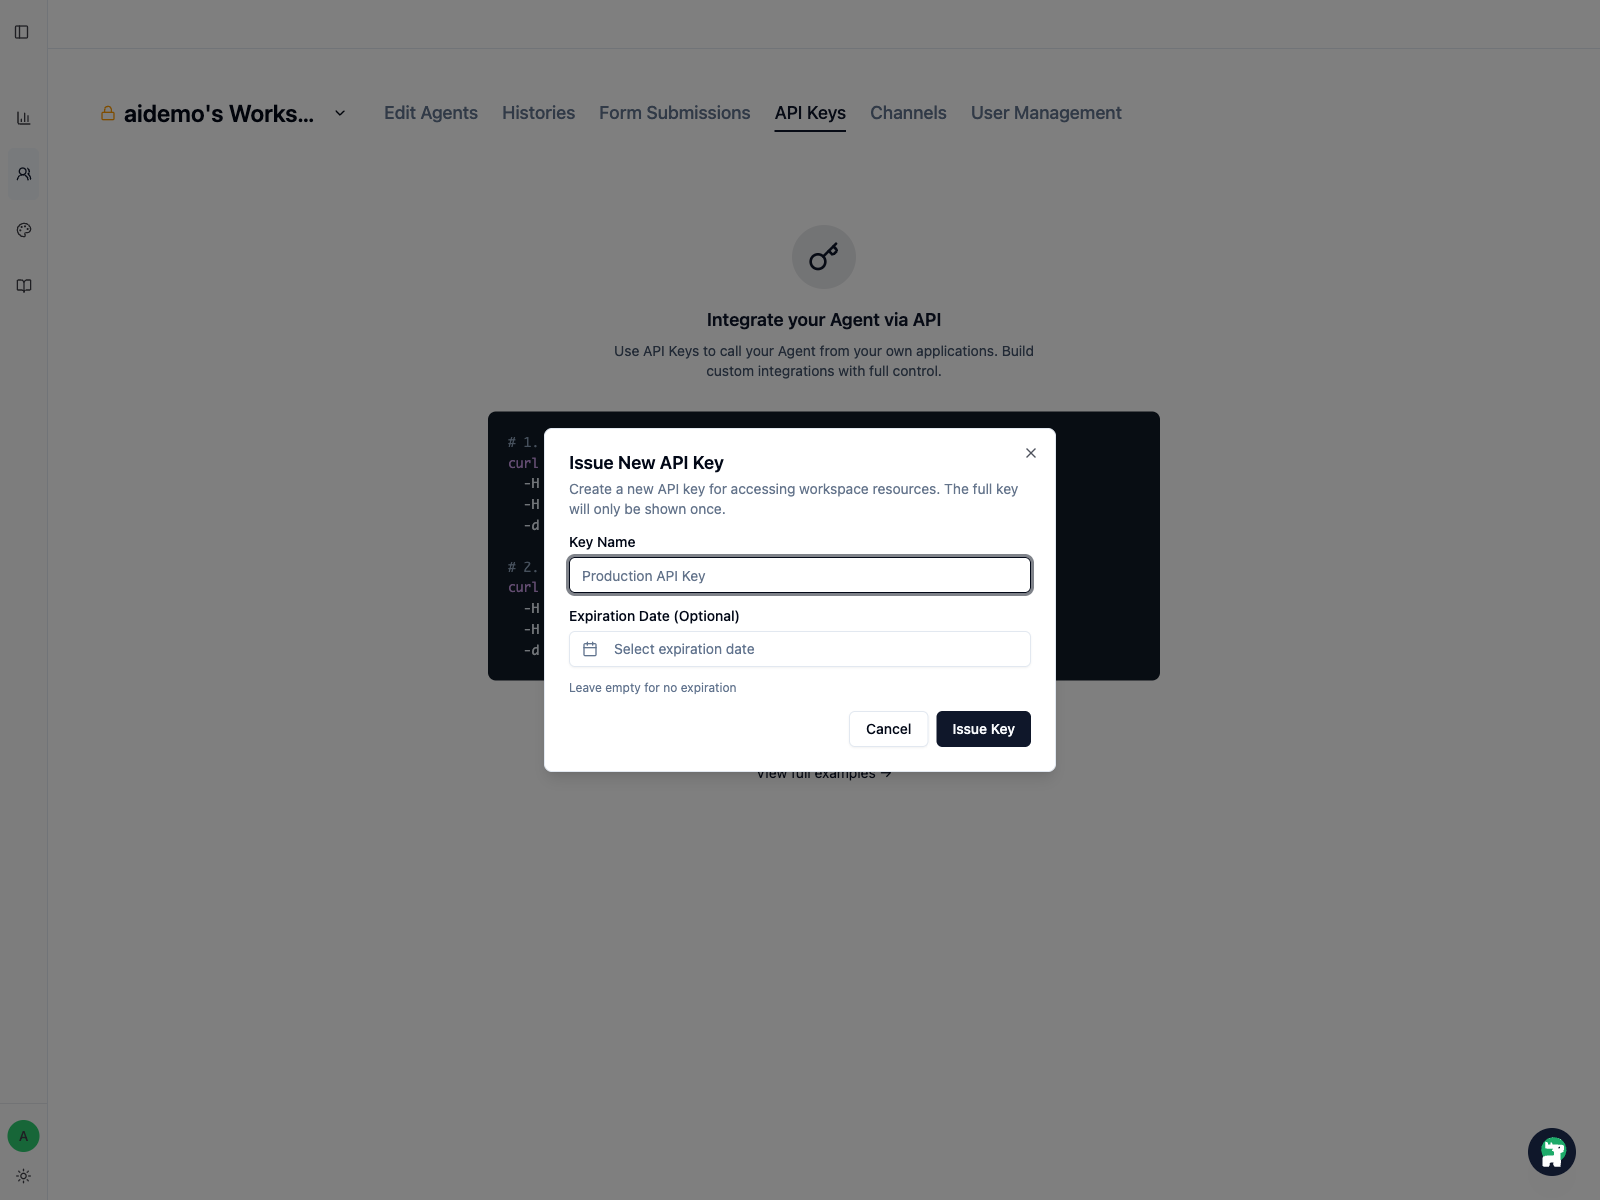
Give the key a name that makes the purpose obvious, such as:
production-web-appinternal-automationstaging-checkout-pilot
If you only need the key for a temporary test, set an expiration date.
The full key is shown only once
Copy and store the key immediately. If you lose it, create a new one instead of trying to recover the old one.
Step 3: Store the key in backend infrastructure
Treat the key like any other production credential:
- keep it in environment variables or a secret manager
- do not put it in frontend code
- do not commit it to version control
- use different keys for staging and production
Step 4: Build and test the integration
Once the key is issued, move into the API reference and example flows:
Official examples:
Step 5: Rotate and revoke keys intentionally
If an integration changes owners, environments, or security posture, issue a new key and revoke the old one.
A few practical habits help:
- name keys by system and environment
- remove keys that no longer have a clear owner
- rotate keys during major production transitions