Skip to content

Brands & OAuth

Brands let an organization reuse a public identity and OAuth configuration across workspaces and Channels. Use them when a published experience should represent a specific business or customer-facing brand instead of the default workspace identity.

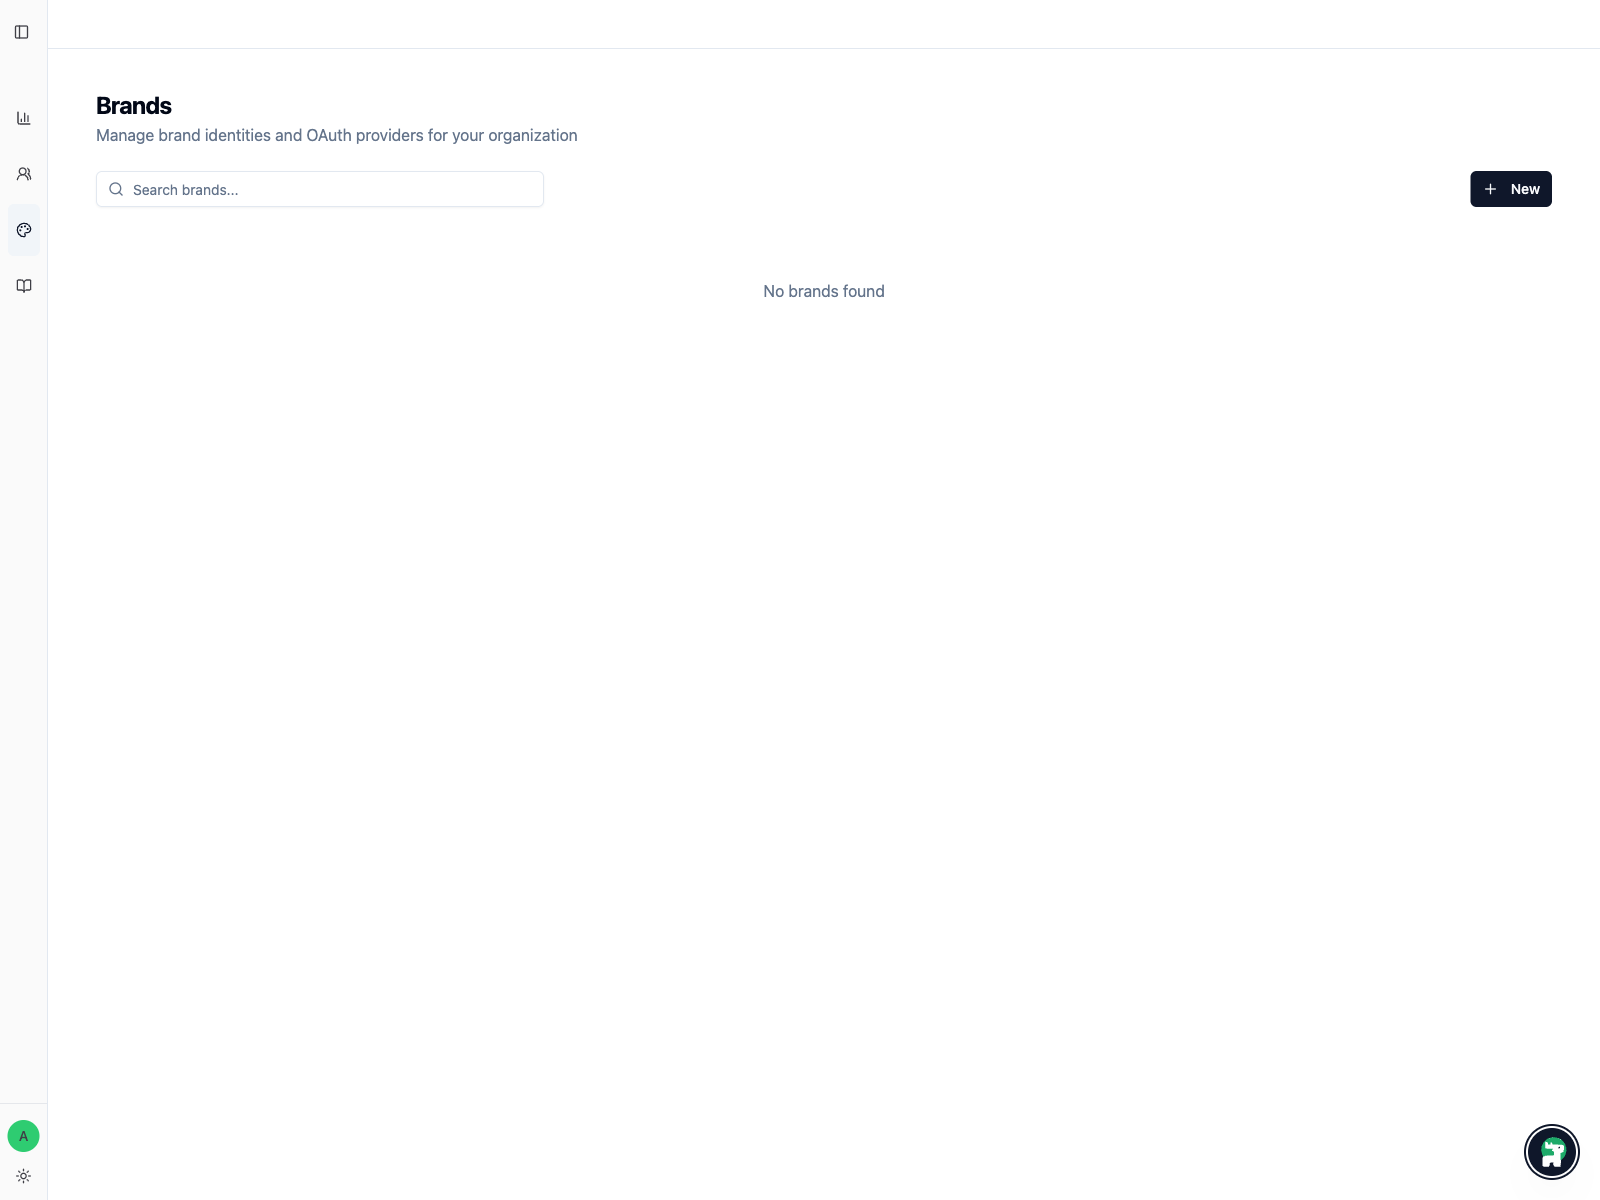
Brands page showing the empty state before any brand is created

Understand the three connections

A working branded login has three separate relationships:

  1. The organization owns the Brand and its OAuth provider.
  2. A workspace is assigned to that Brand.
  3. A Web Channel in that workspace is bound to the OAuth provider.

Creating a Brand does not automatically change a workspace or Channel. Complete all three relationships and test the published login flow.

Prepare the provider first

The current Brand form supports Google OAuth. Before entering Codeer, prepare:

  • a Google OAuth client for the correct environment
  • the Client ID and Client Secret
  • the exact authorized redirect URI supplied for that Codeer deployment
  • the approved scopes; a normal identity flow usually needs profile and email

Redirect URIs vary by environment. Obtain the exact value from the deployment administrator instead of copying a preview or local URL into production. Request only the scopes the experience needs.

Step 1: Create the Brand

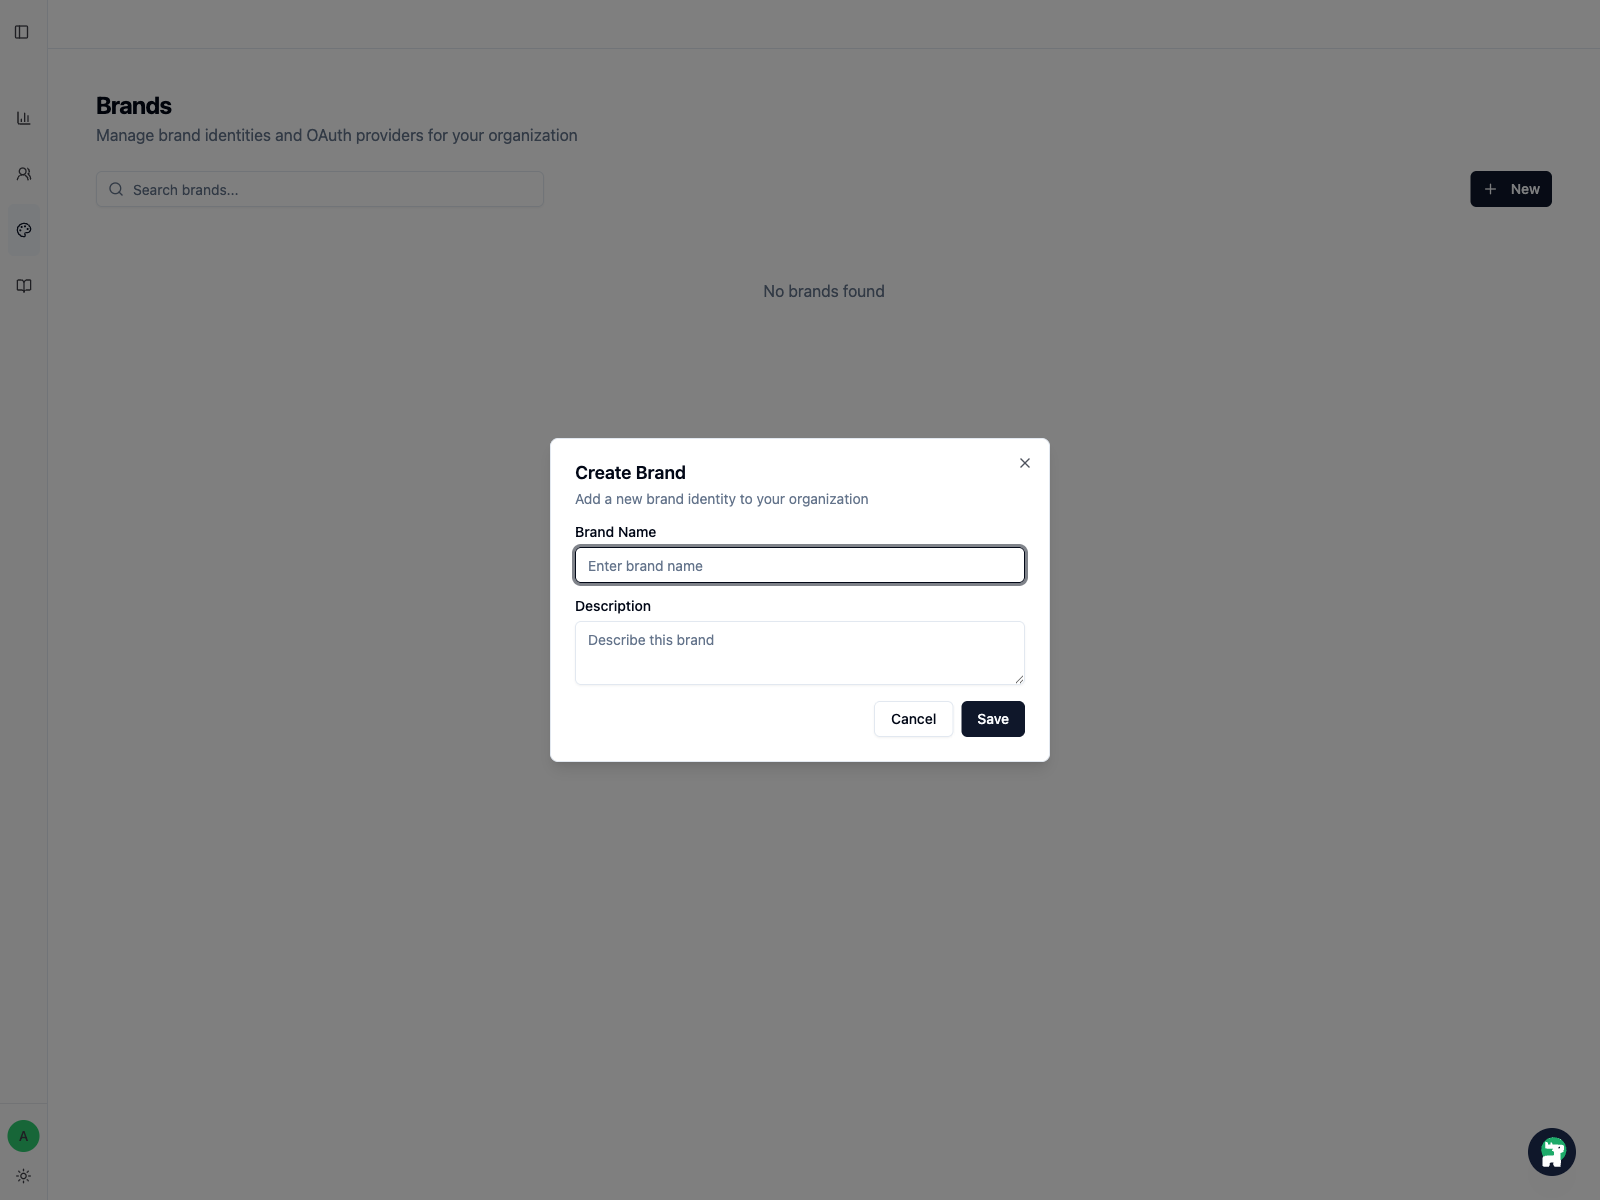
Open Organization Settings → Brands, click New, and enter the Brand name and description.

Create Brand modal

After creation, open the Brand and upload the logo. The current logo upload accepts JPEG or PNG up to 1 MB.

Step 2: Assign the Brand to a workspace

Open Organization Settings → Workspaces, edit the target workspace, and select the Brand. The Brand detail page lists the workspaces currently using it.

Use one Brand across multiple workspaces only when they should share the same public identity and authentication ownership.

Step 3: Add the Google OAuth provider

Open the Brand and click Add under OAuth Providers.

Field What to enter
Provider Type Google
Display Name A name that distinguishes environment and purpose, such as Google OAuth for Production
Client ID The Google OAuth client ID for this environment
Client Secret Required when creating the provider
Scopes Add each approved scope separately, such as profile and email

When editing a provider, leave Client Secret empty to keep the existing secret. Enter a new value only when rotating the credential.

Step 4: Bind the provider to the Web Channel

Open the target workspace, select Channels, open the Web Channel, and use its OAuth section to add the Brand's provider. A Channel cannot bind two providers of the same provider type.

Brand and provider administration requires organization connection-management permission. Binding or removing a provider on a Channel requires workspace resource-management permission.

Test before expanding access

Use an account that is not already signed in and verify:

  • the login starts from the intended published Channel URL
  • Google shows the expected app identity and scopes
  • the callback returns to the correct Channel
  • the signed-in user reaches the expected workspace access state
  • a rejected or failed login does not expose the protected experience

Treat adding, rotating, unbinding, or deleting an OAuth provider as an access change. Test it before sharing the Channel with a wider audience.

Deleting can break active relationships

Deleting an OAuth provider removes its relationships with Client Channels. Deleting a Brand unassigns it from the workspaces using it. Resolve or replace those dependencies before deleting either record.