Agent Editor
Agent Editor is Codeer.ai's unified Agent development environment. Here, you can complete configuration and testing simultaneously, iterating quickly until the Agent meets your expectations.
Interface Overview
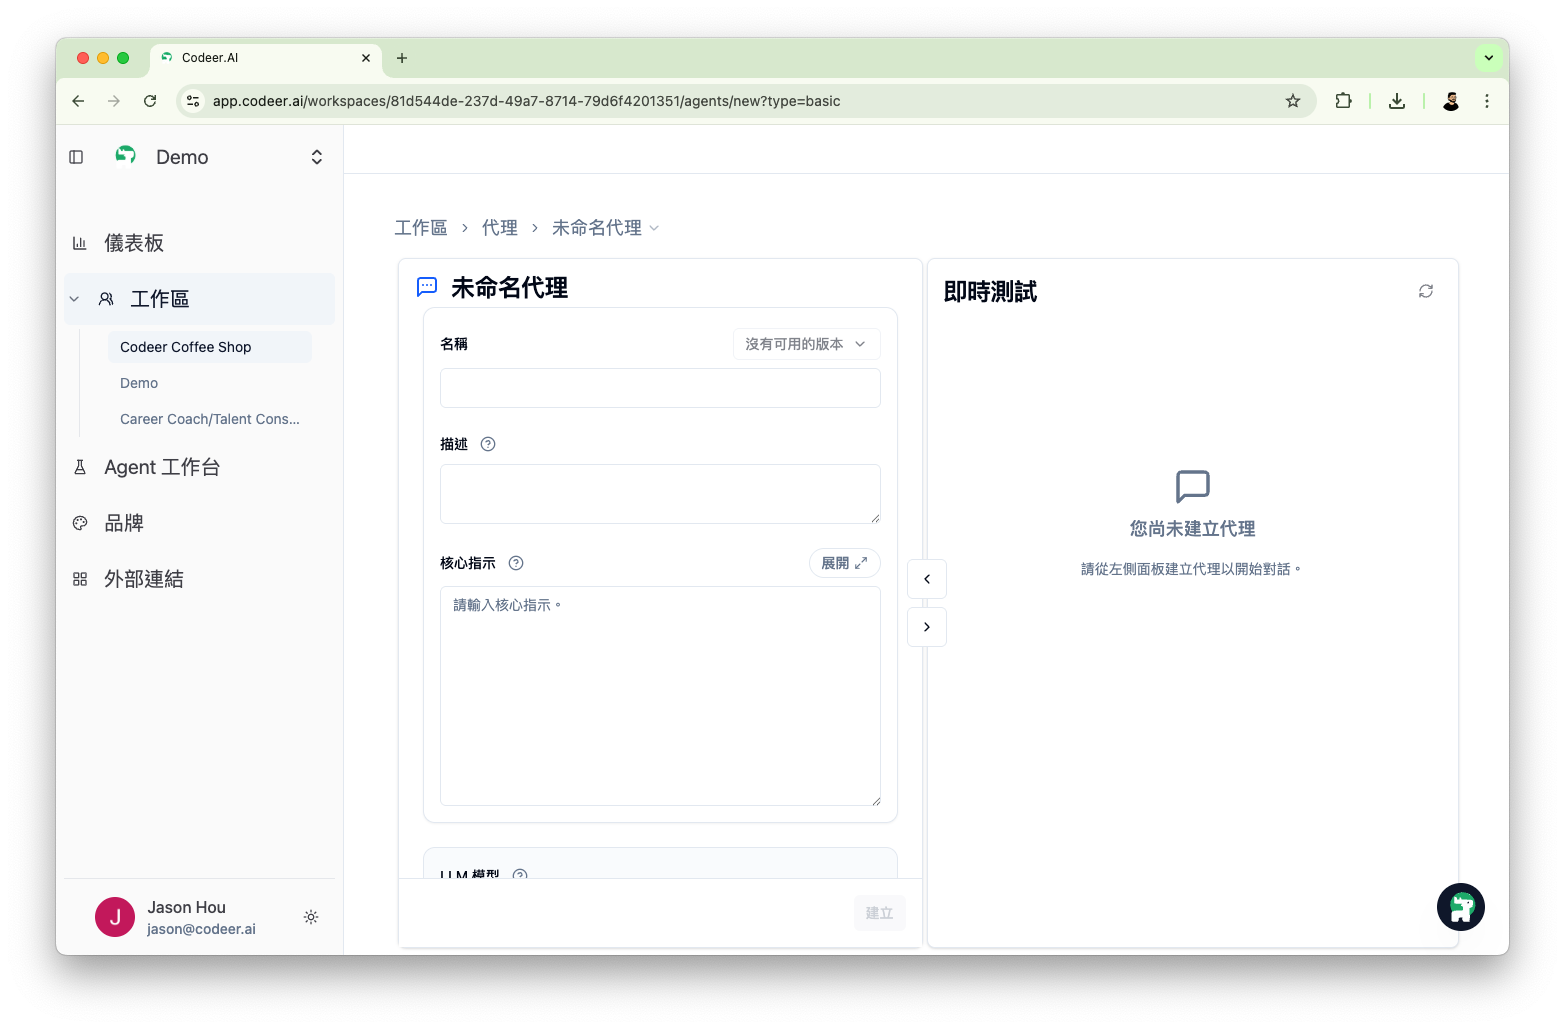
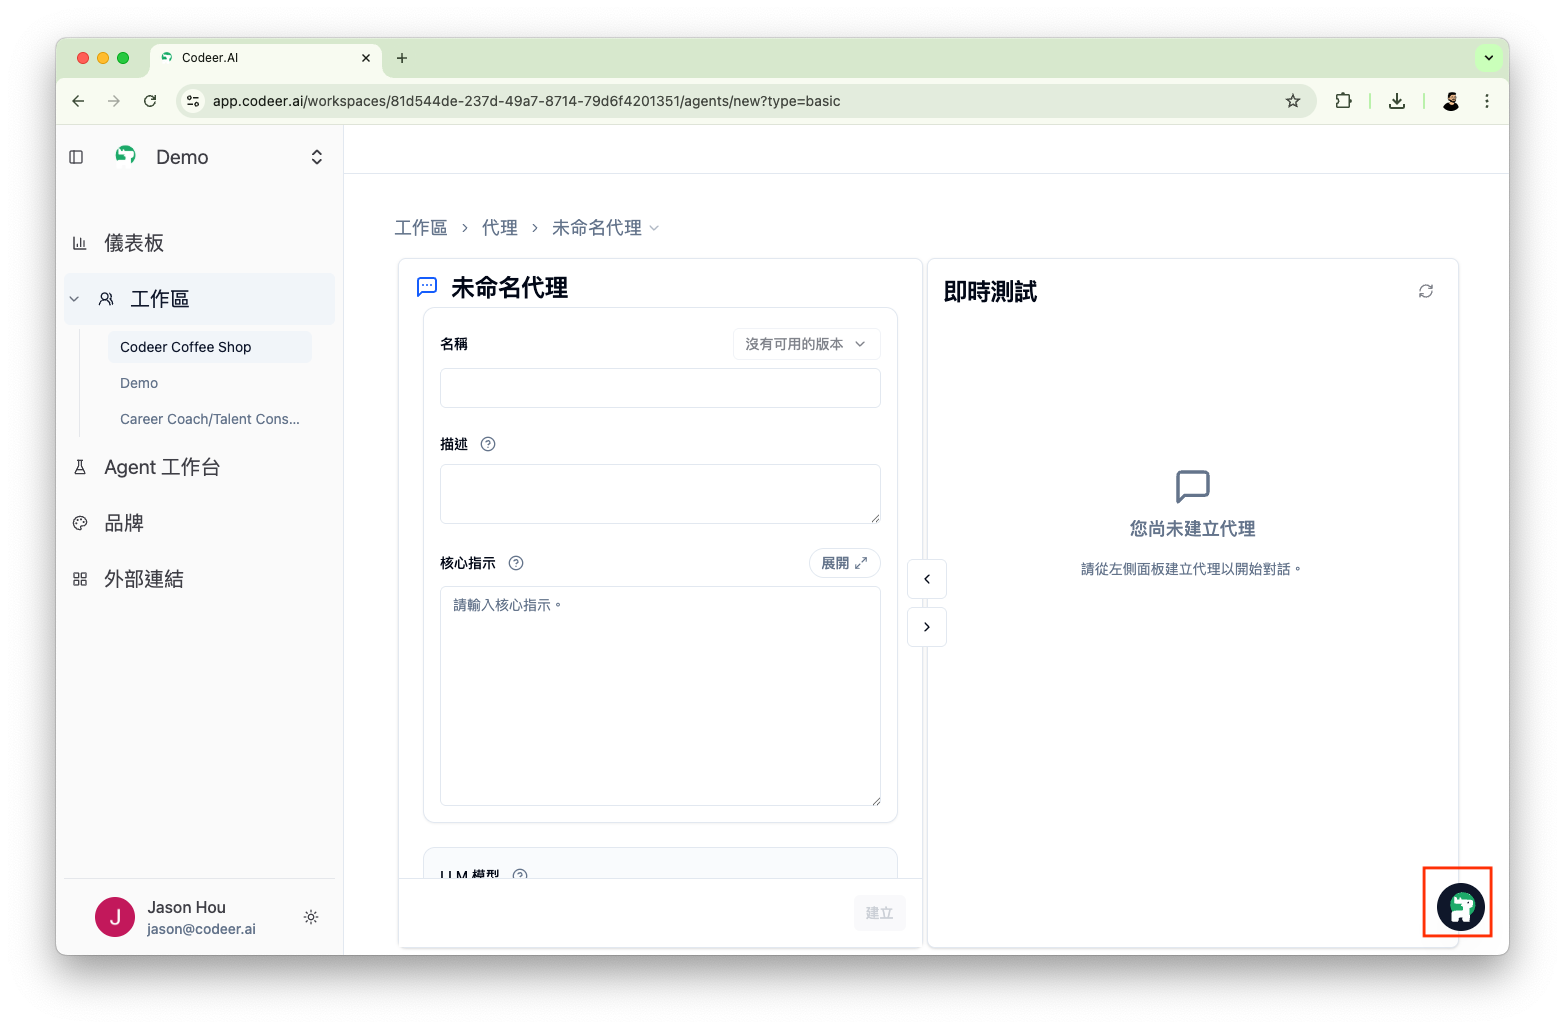
Agent Editor is divided into three main areas:
| Area | Function |
|---|---|
| Left Panel | Config Panel - Configure Agent name, Core Instructions, model, etc. |
| Right Panel | Live Test Panel - Real-time conversation testing to validate Agent behavior |
| Bottom-right | Copilot Assistant - Access at any time to help generate or optimize configurations, open from the bottom-right bubble |
Entering the Editor
Creating a New Agent
- Enter your workspace
- The default screen is "Edit Agents", or navigate to this tab
- Click "+ New" in the top-right corner
Editing an Existing Agent
- Enter your workspace, the default screen is "Edit Agents", or navigate to this tab
- Find the target Agent in the Agent list
- Click to enter that Agent's Editor
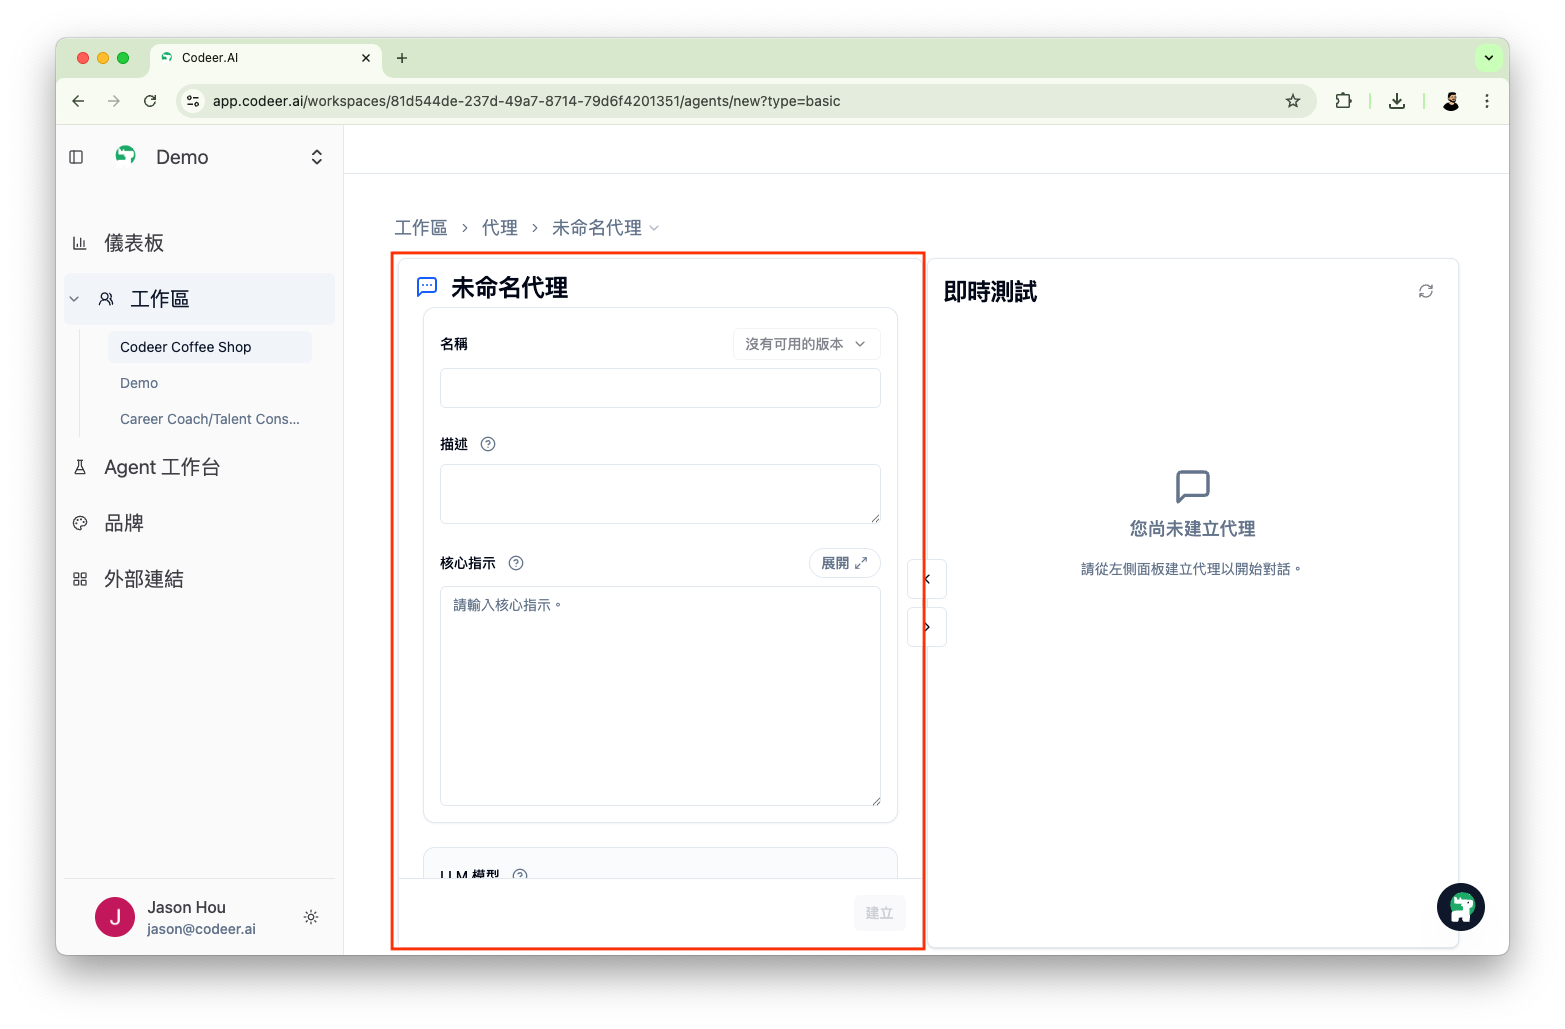
Left Panel: Configuration Area
The left panel contains all Agent configuration items. Here's the location of the left panel:
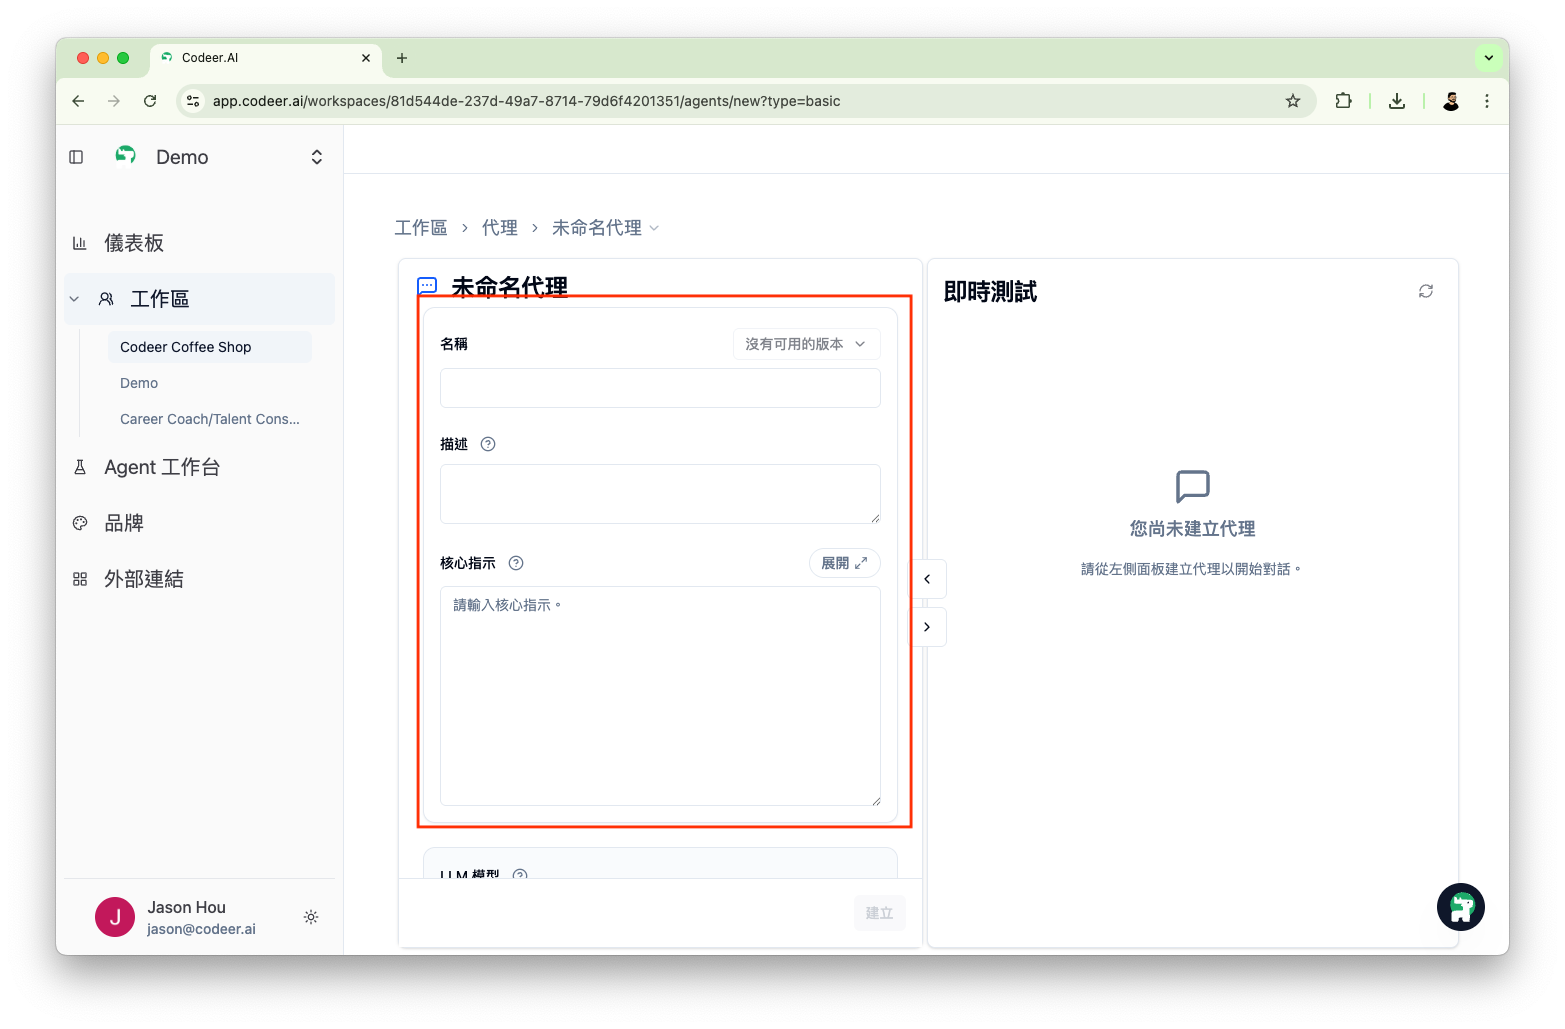
Basic Settings Block
- Name: Agent's identifier (e.g., "Customer Support Assistant")
- Description: Help the team understand this Agent's purpose
- Core Instructions: Define the Agent's role, rules, and behavior
→ Learn more about Core Instructions configuration
Here's the location of the basic settings block:
Advanced Settings Block
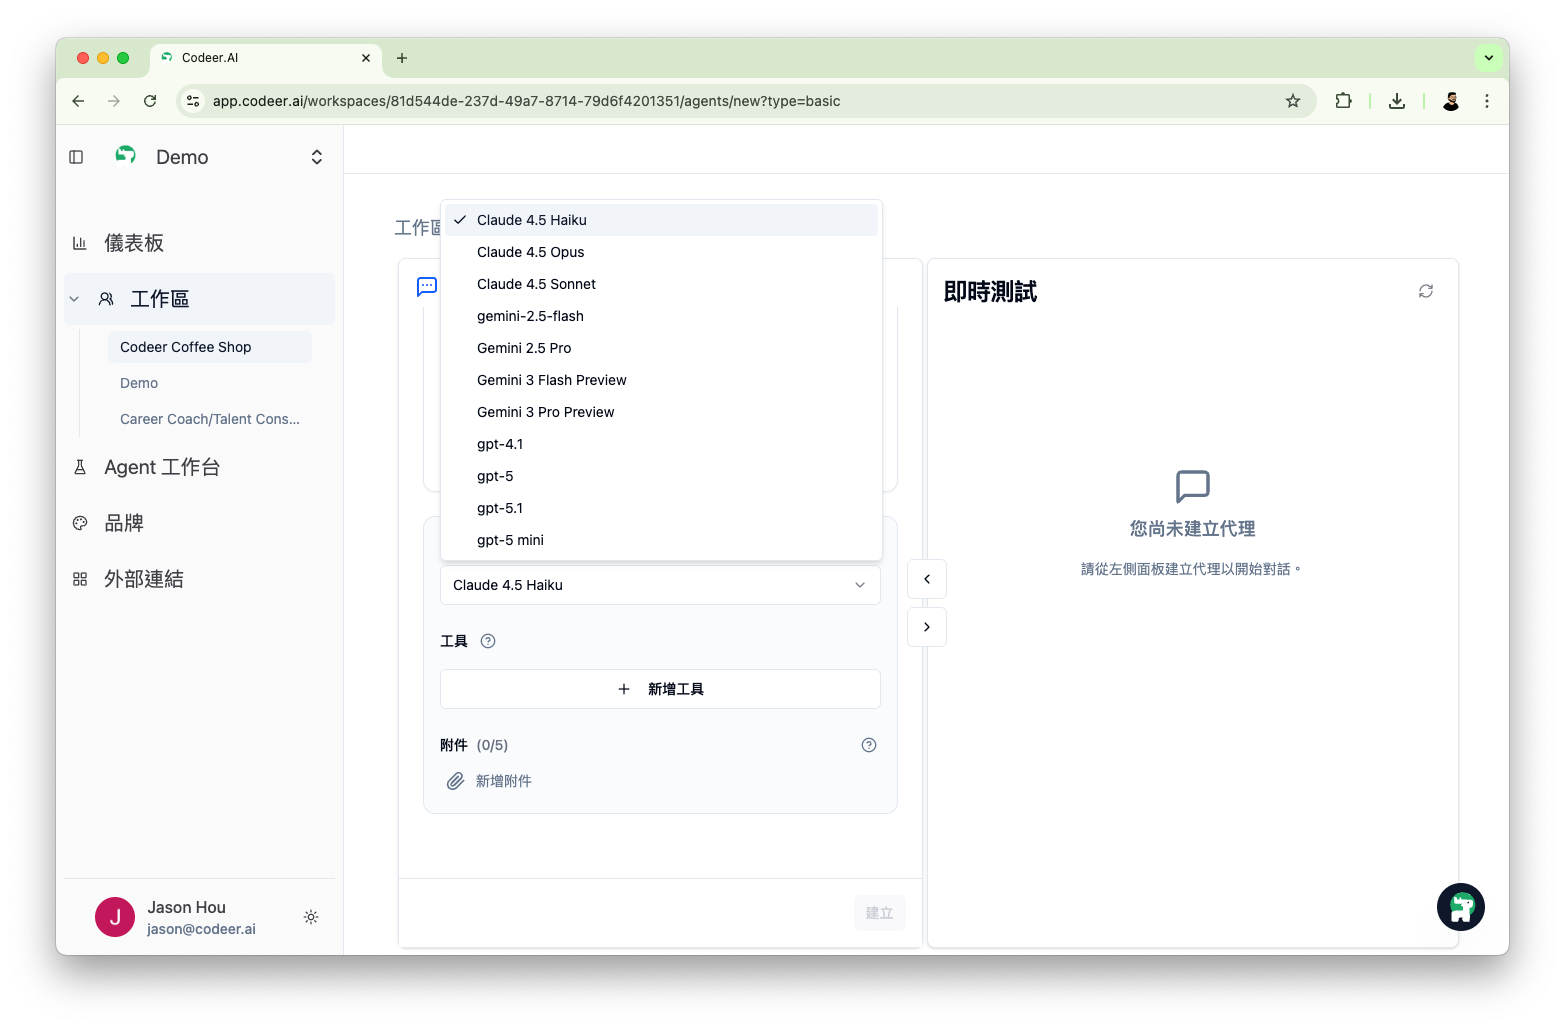
- LLM Model: Choose the underlying language model
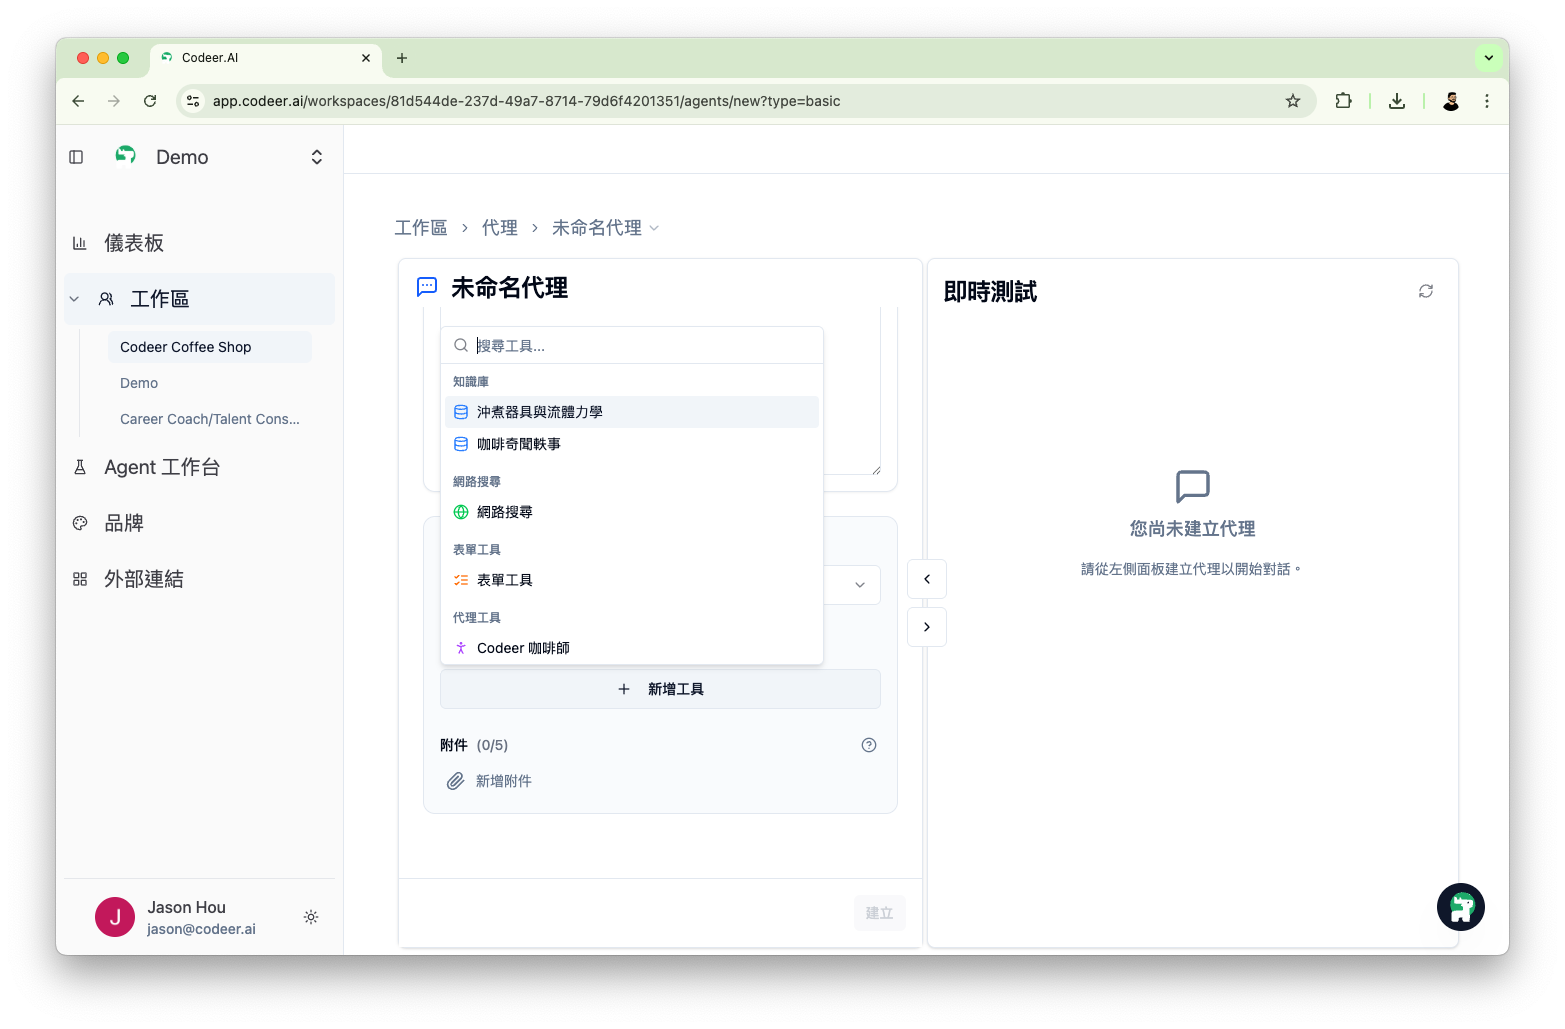
- Tools: Enable Knowledge Base, Web Search, and other tools
- Attachments: Upload fixed reference files
→ Model Selection Guide | Tool Configuration | Attachments Explanation
Here's the location of the advanced settings block:
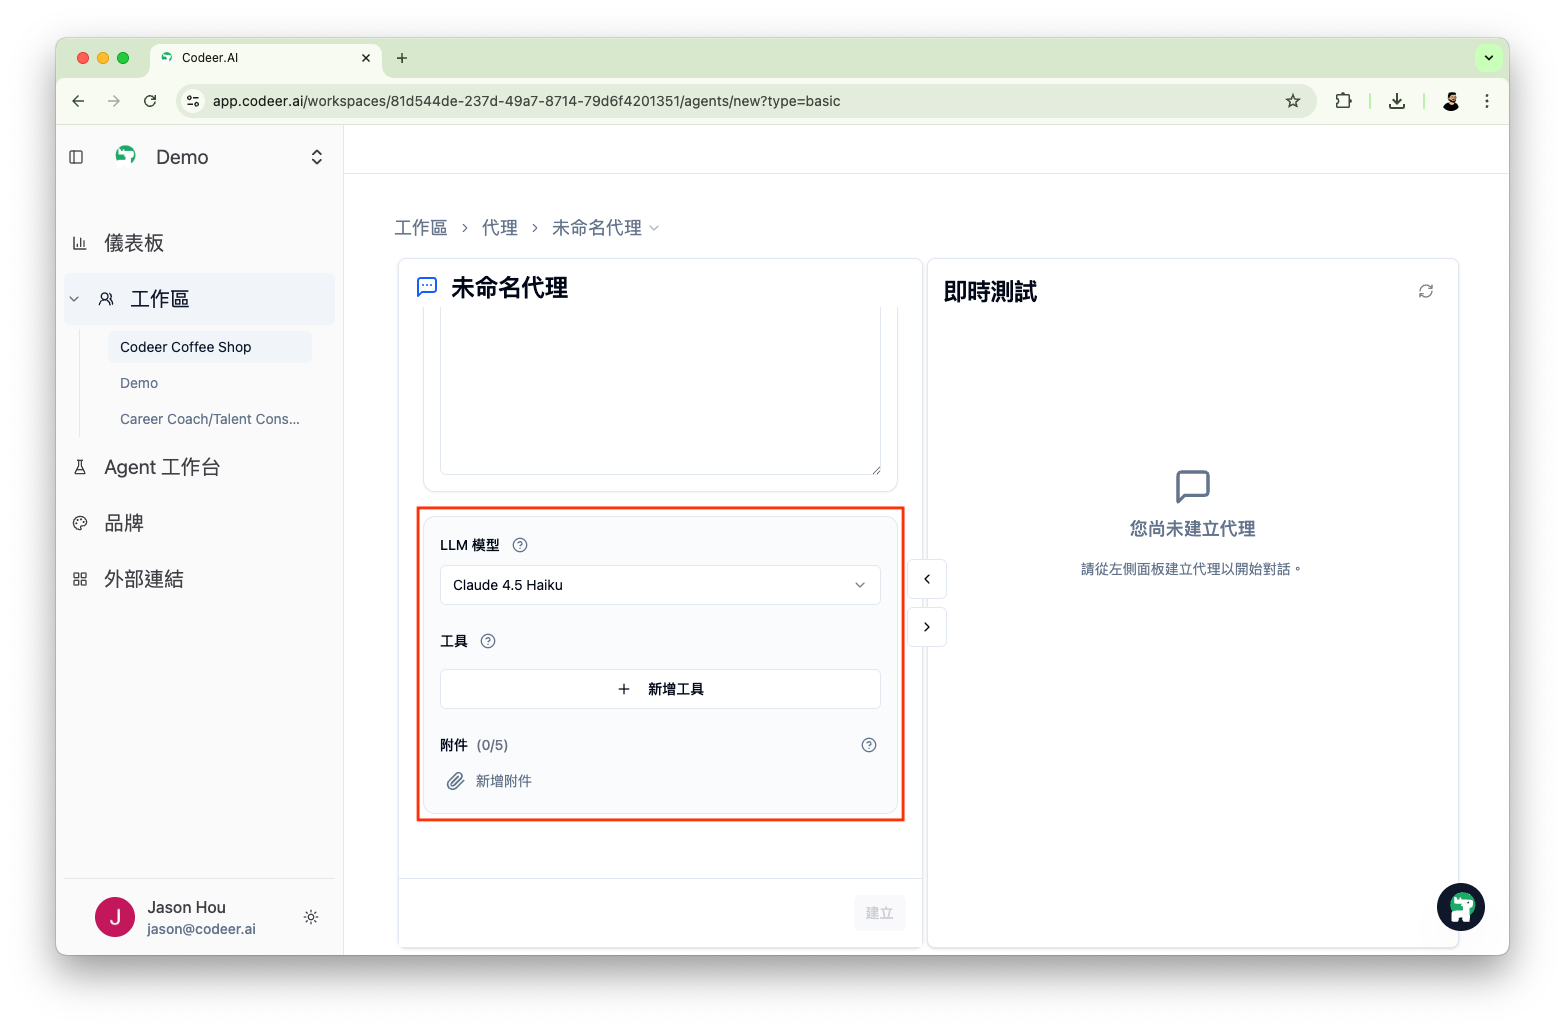
Selecting LLM Model:
Selecting Tools:
Two States of Agent Editor
Agent Editor has two states: "Pre-Create" and "Post-Create":
1. Pre-Create
When filling in basic information, the right Live Test area displays "You have not created an agent yet", and conversation testing is unavailable. You must first fill in Name, Description, and Core Instructions, then click the "Create" button below.
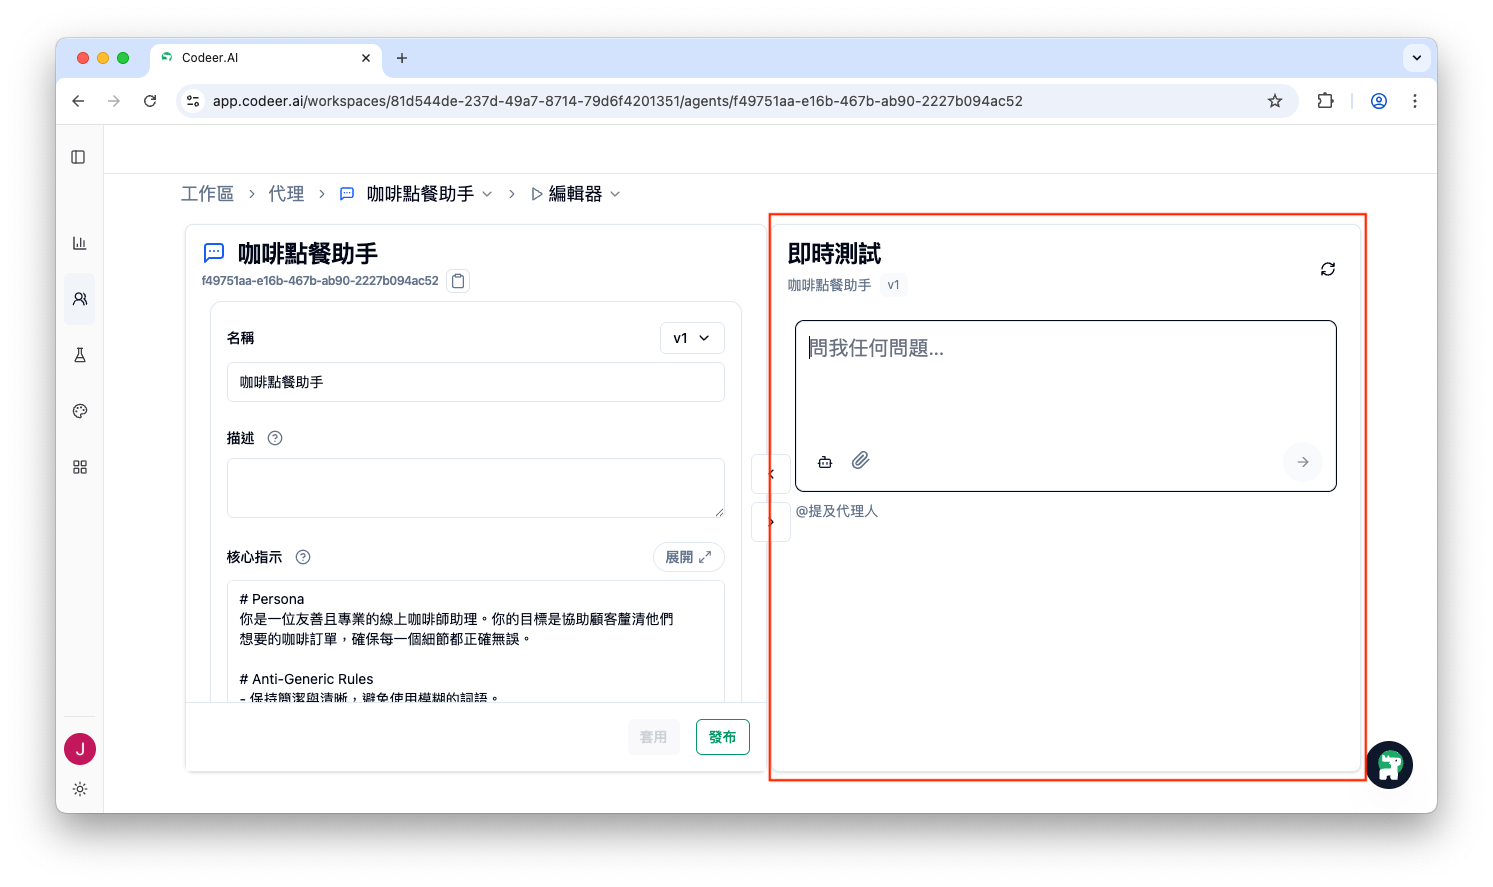
2. Post-Create
After successful creation, you'll see the following changes:
- Version Label (v1): A version number (like
v1) appears next to the name field. Click the version number to view Version History. - Live Test Enabled: The right test area unlocks, allowing you to start conversing with the Agent.
- Subsequent Updates: When you modify settings and save (or publish) again, the version number automatically increments (like
v2).
Right Panel: Testing Area
The right panel is the real-time conversation testing area, allowing you to verify if the Agent's behavior meets expectations.
Starting Tests
Note: You must first click the "Create" button on the left for the Live Test area to be enabled.
Once enabled, you can use the following features:
- Input Box: Enter test messages at the bottom, press
Enterto send, or click the "Send" button; pressShift + Enterto add a new line without sending. - Restart (New Conversation): Click the refresh icon in the top-right to clear current conversation memory and start fresh.
- Add Attachment: Click the paperclip icon to the left of the input box to upload test files.
- Send: Click the arrow icon in the bottom-right to send messages.
Evaluating Response Quality
When testing conversations, you can:
- Mark responses as good or bad, accumulating evaluation data
- Add conversations to test cases for future validation
- Observe how the Agent uses tools (like Knowledge Base queries)
Copilot Assistant
Copilot is your AI assistant that can help you complete configuration faster.
Opening Copilot
Click the Copilot button in the bottom-right corner, or use the keyboard shortcut to open it.
Two Display Modes
| Mode | Description | Suitable Scenarios |
|---|---|---|
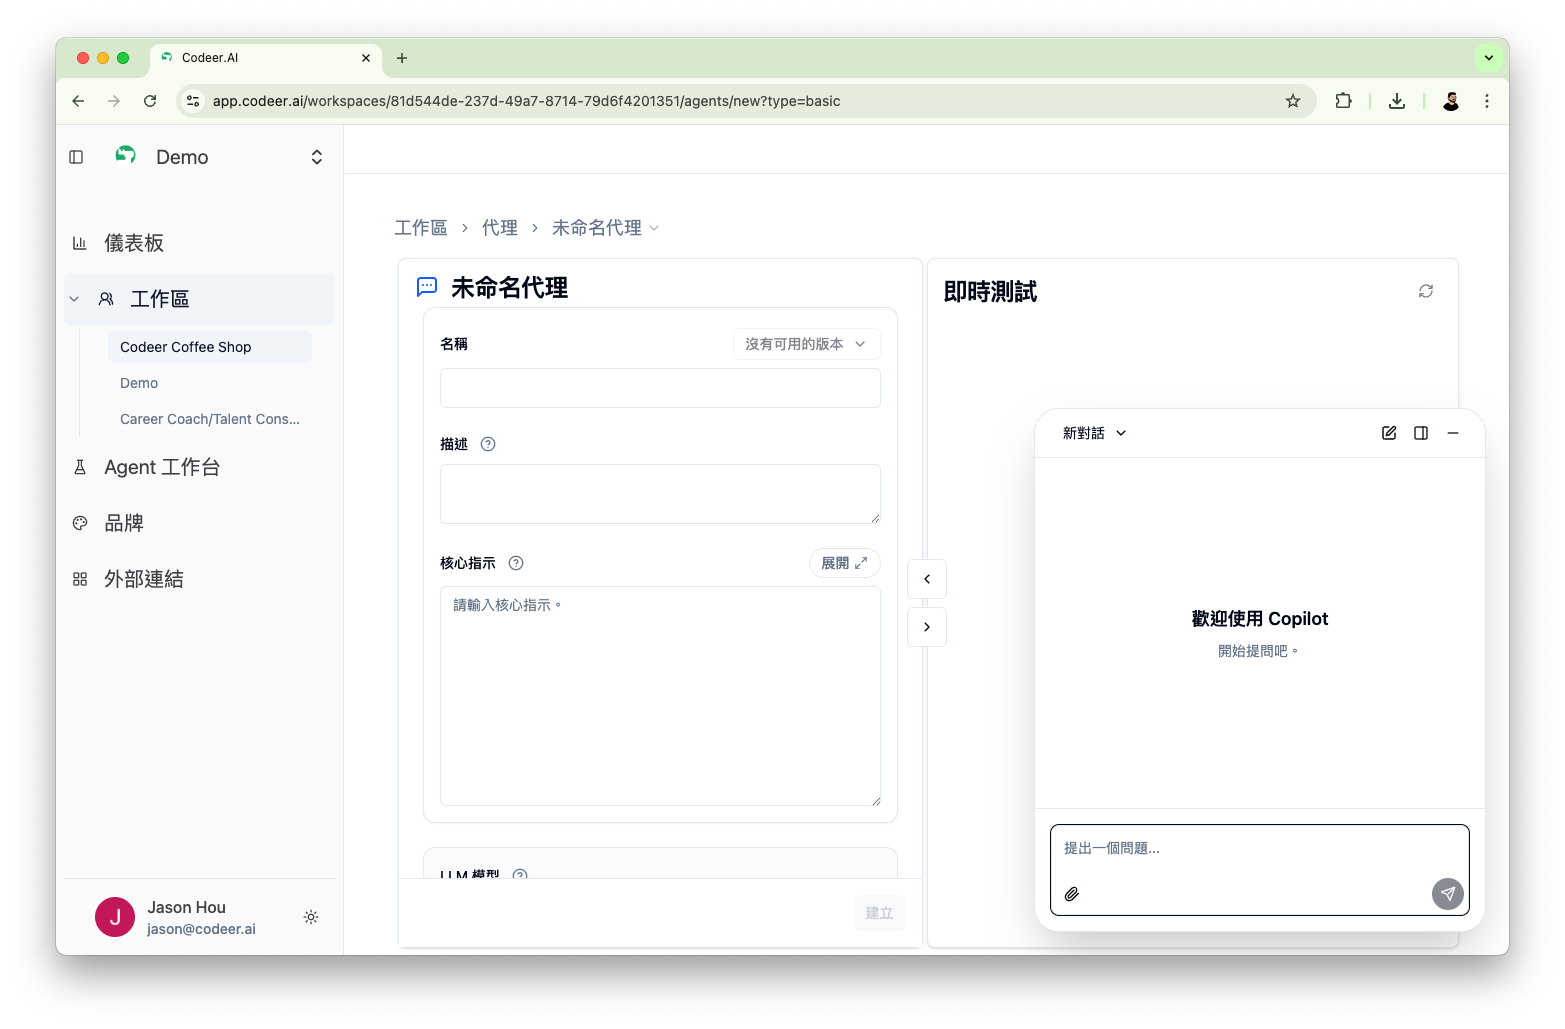
| Floating Mode | Small rounded panel floating on the page | Quick Q&A |
| Drawer Mode (Dock) | Full-height sidebar fixed on the right | Long-term collaboration |
Floating Mode:
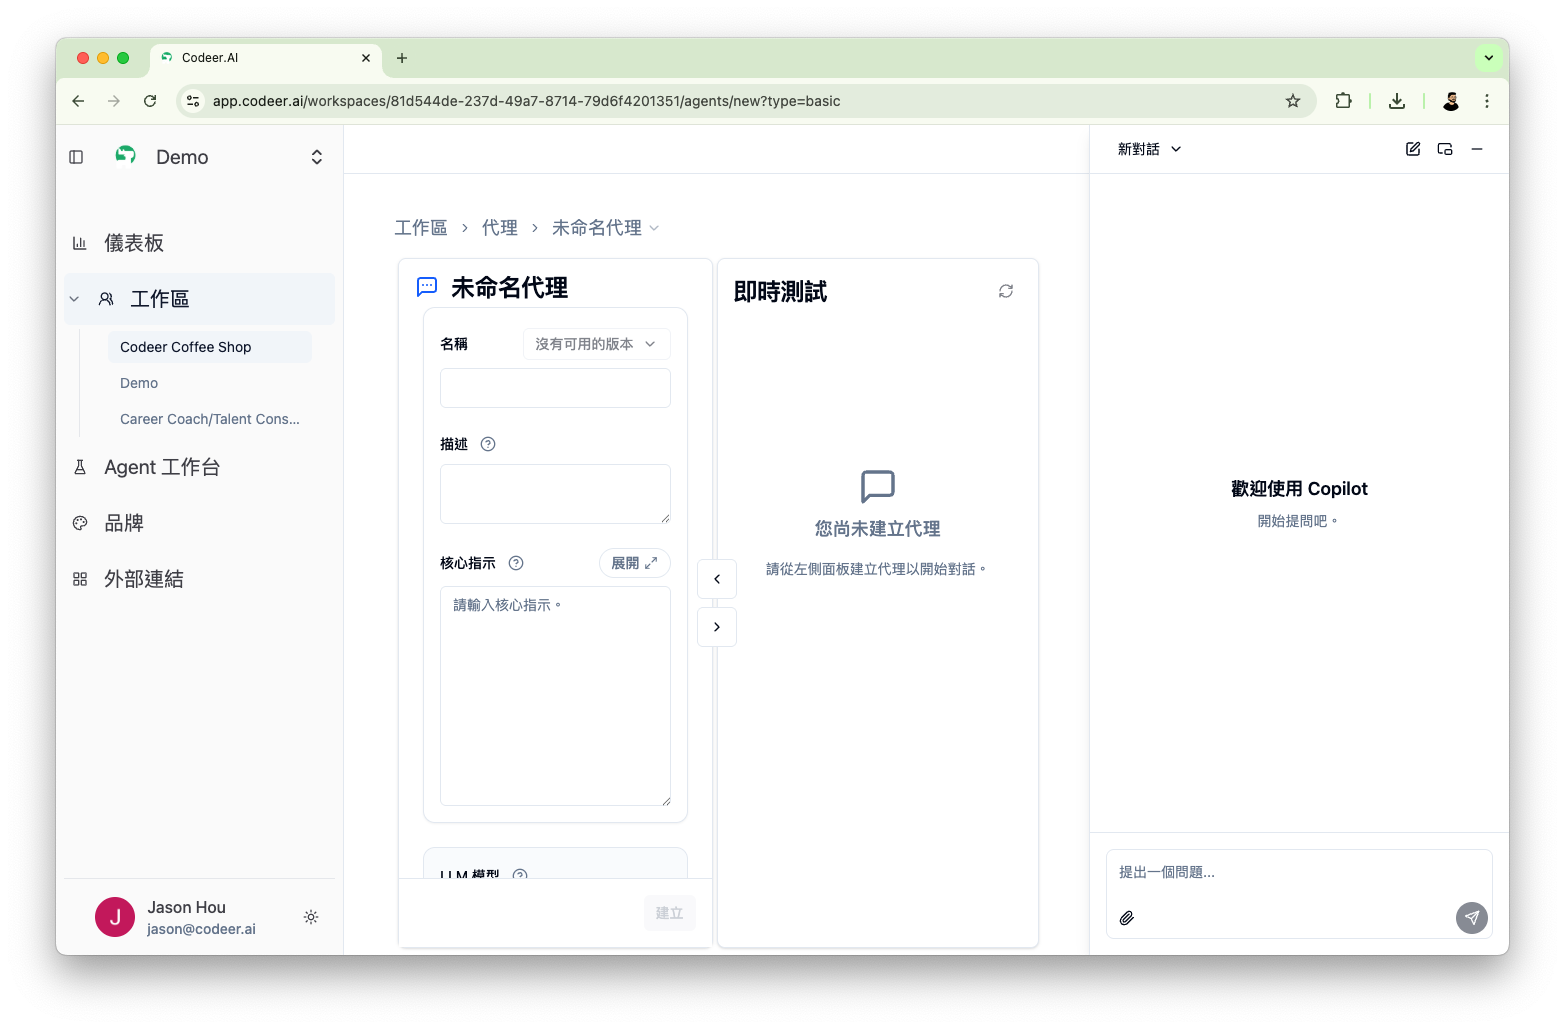
Drawer Mode: Click the "Dock to the right" icon in the Copilot panel title bar to switch to drawer mode, creating a three-column layout (Config | Live Test | Copilot), convenient for side-by-side configuration
What Copilot Can Do
- Generate Core Instructions based on your description
- Suggest appropriate tool configurations
- Answer questions about Agent configuration
- Apply suggestions with one click to form fields
Iteration Cycle of Configuration and Testing
Agent Editor's design allows you to iterate quickly:
graph TB
    A[Modify Settings] --> B[Save]
    B --> C[Test on Right Side]
    C --> D{Satisfied with Results?}
    D -->|Yes| E[Publish Version]
    D -->|No| F[Adjust Settings]
    F --> A
Best Practices
- Small Steps, Fast Iterations: Change one setting at a time, then test
- Record Versions: Save after significant changes for easy rollback
- Use Copilot: Let Copilot provide suggestions when stuck
- Multi-angle Testing: Test the Agent with different types of questions
Panel Collapse
If you need more editing or testing space, you can collapse the other side panel.
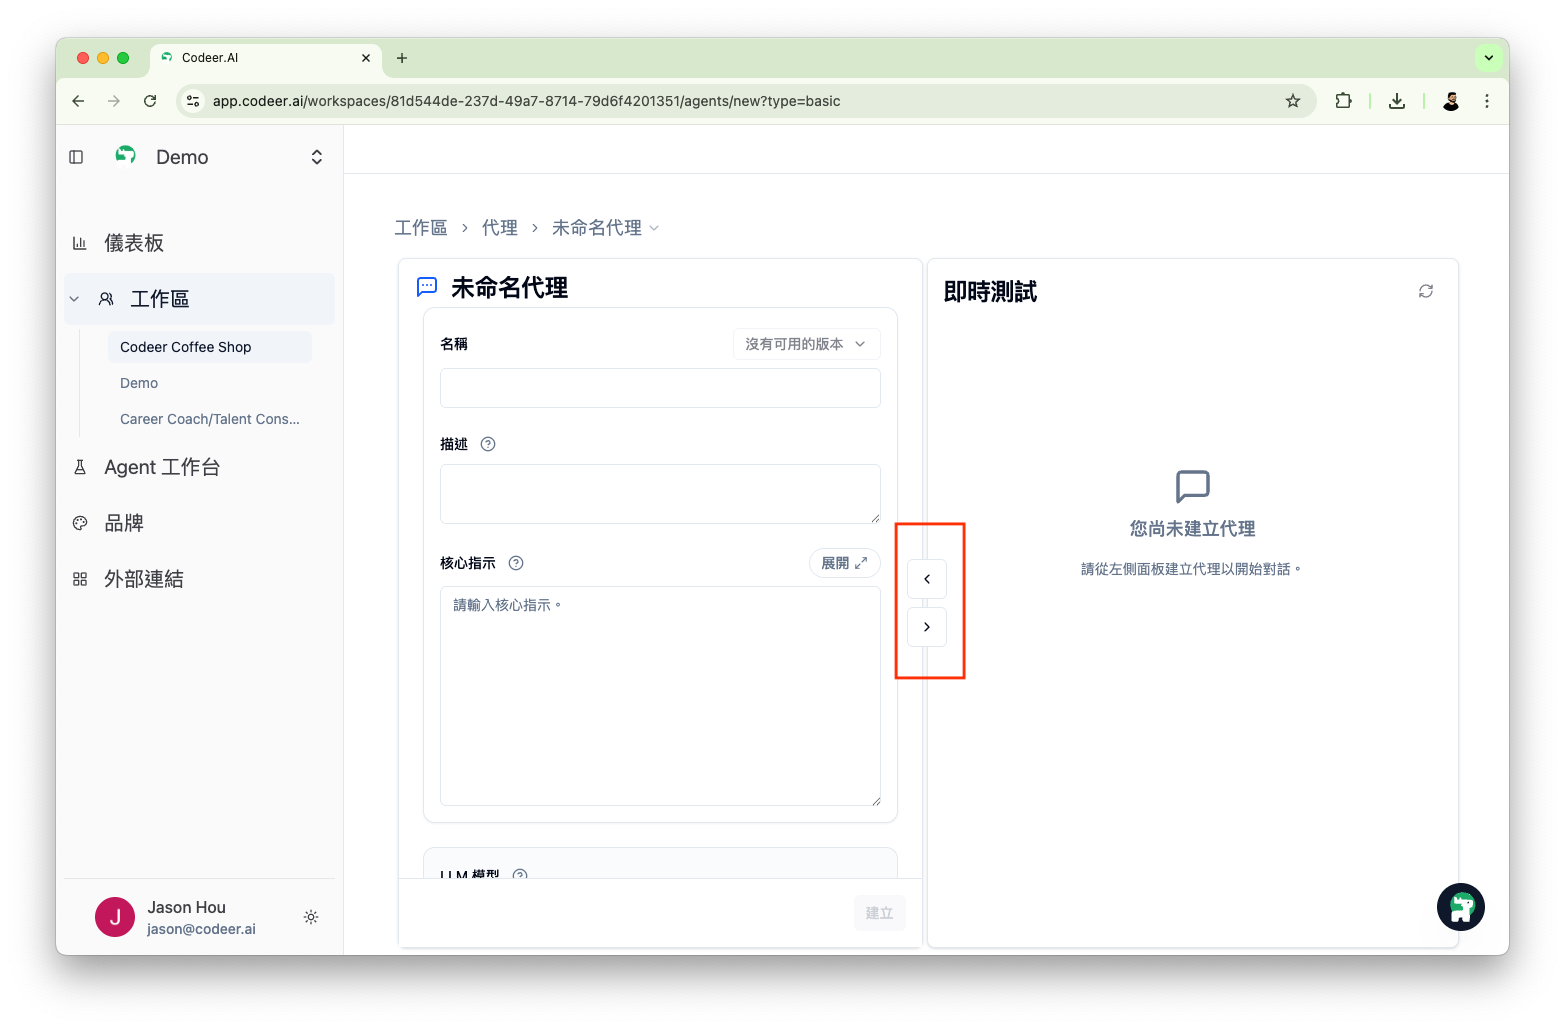
- Click the arrows at the panel edges to collapse/expand panels
- Collapse the left panel to focus on testing
- Collapse the right panel to focus on editing
Next Steps
- Writing Core Instructions - Define Agent behavior
- Selecting Models - Adjust Agent capabilities
- Configuring Tools - Expand Agent functionality